Notice: Read the complete Installation Manual before installing your Geo Dream heating system.
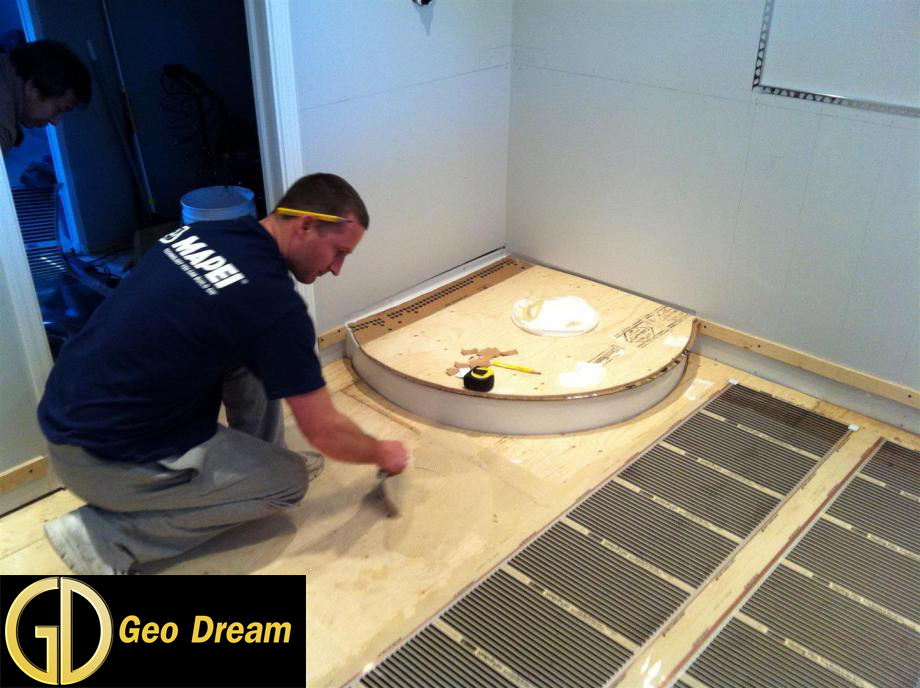
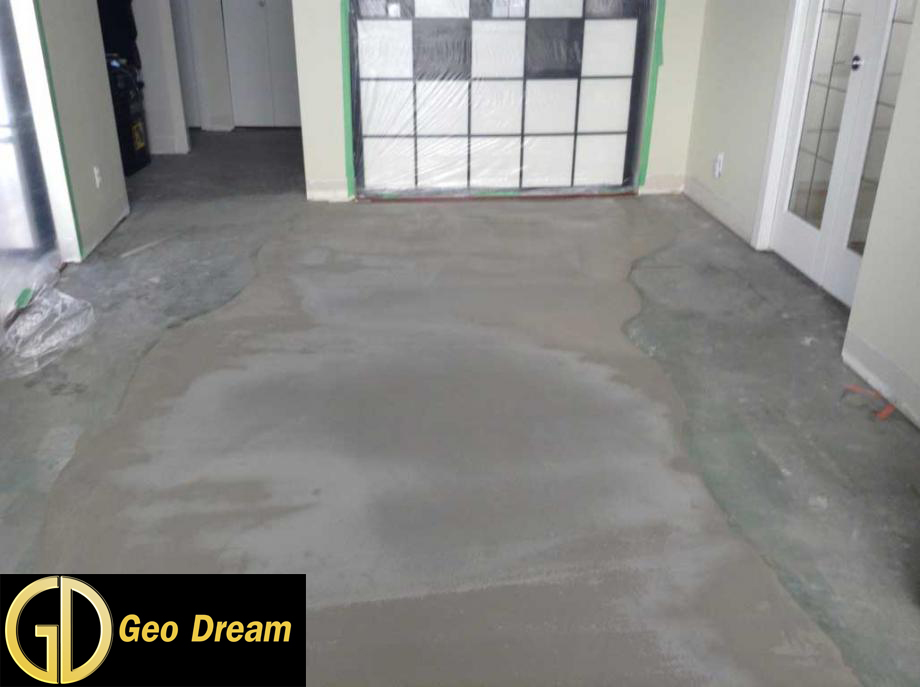
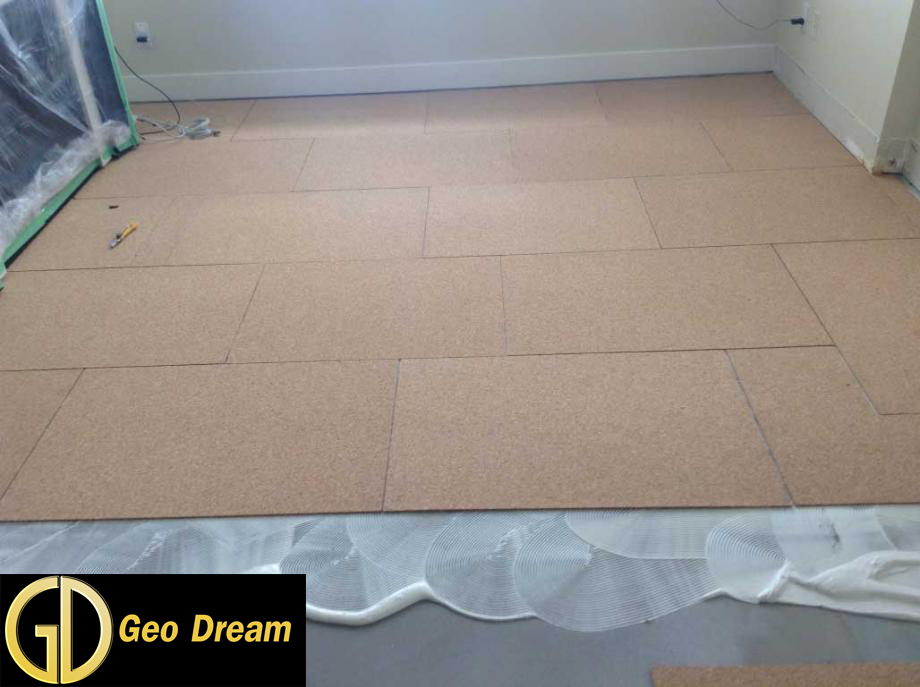
- Install a rigid insulating underlayment with radiant heat barrier over the entire area where Geo Dream is to be installed.
- The surface of the underlayment must be level, clean, flat and dust free.
- Measure and design the installation area. Design Criteria.pdf
- Determine the total output of the system, how many thermostats are needed, and the location of each thermostat.
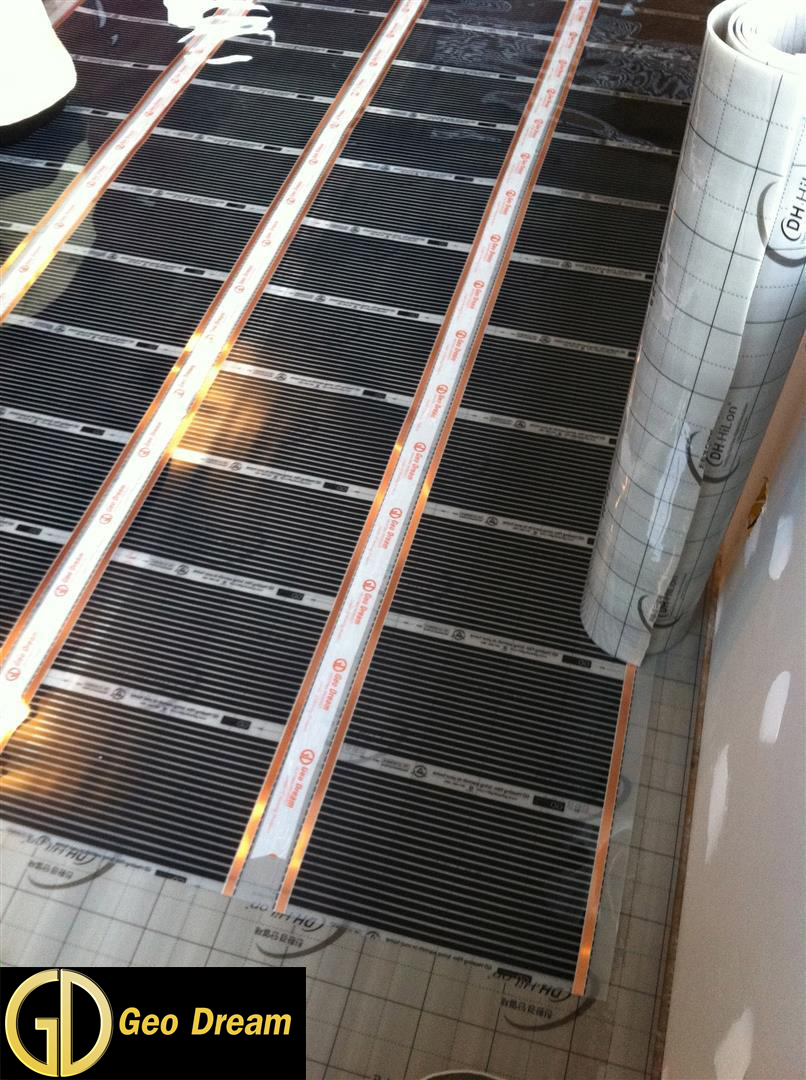
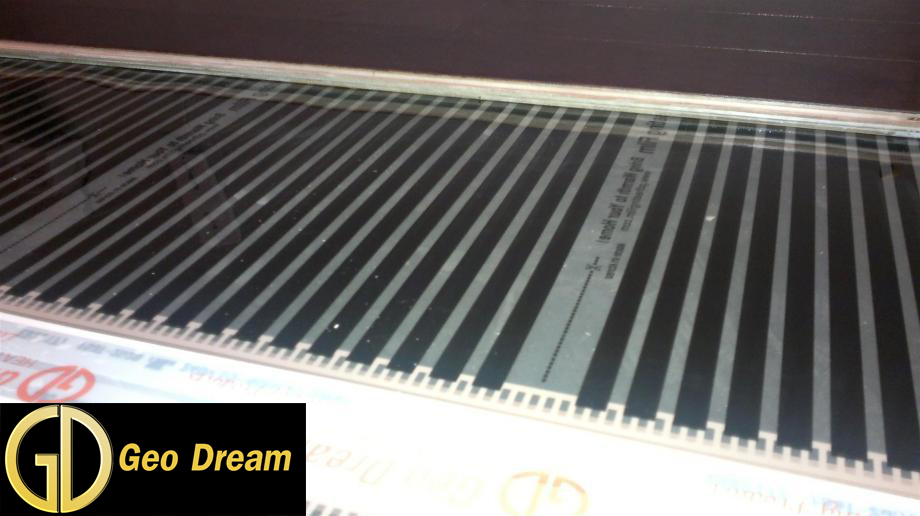
- Carefully cut the heat film along the printed cut lines in accordance with the design.
- Make sure all surfaces that touch the heat film are clean, to ensure there is no debris that may damage the film.
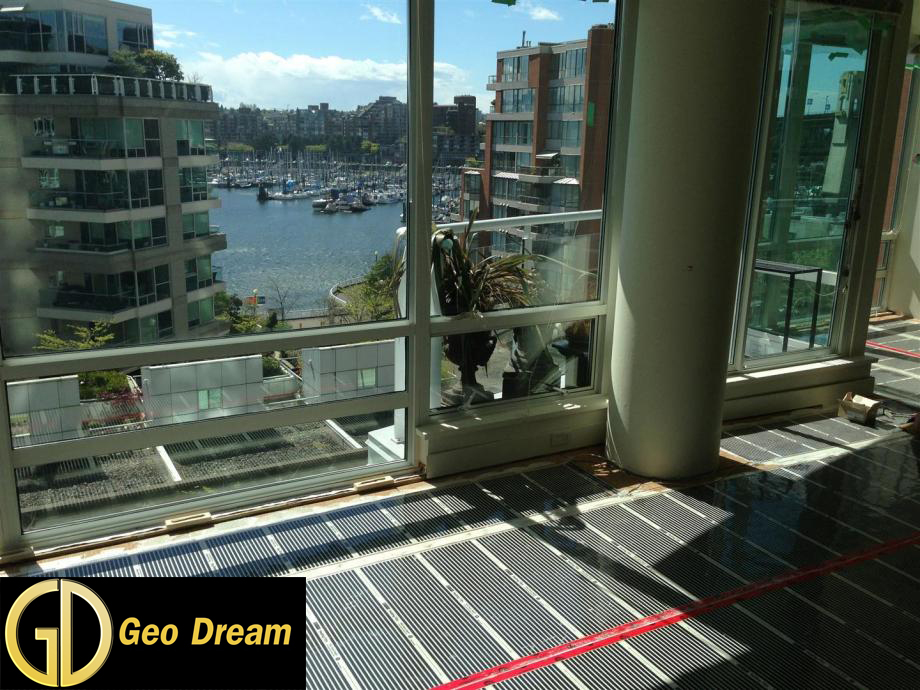
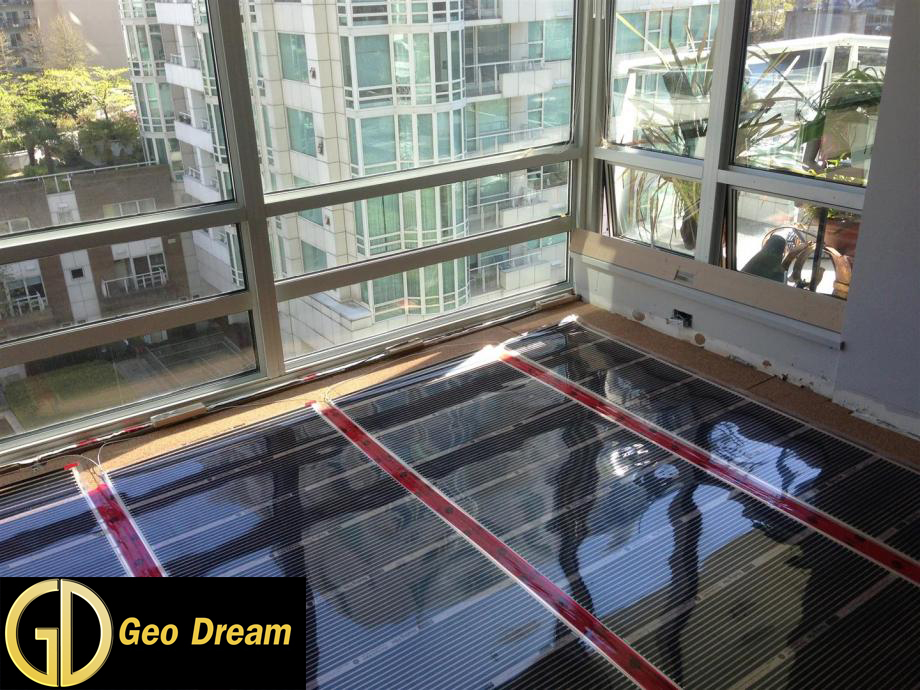
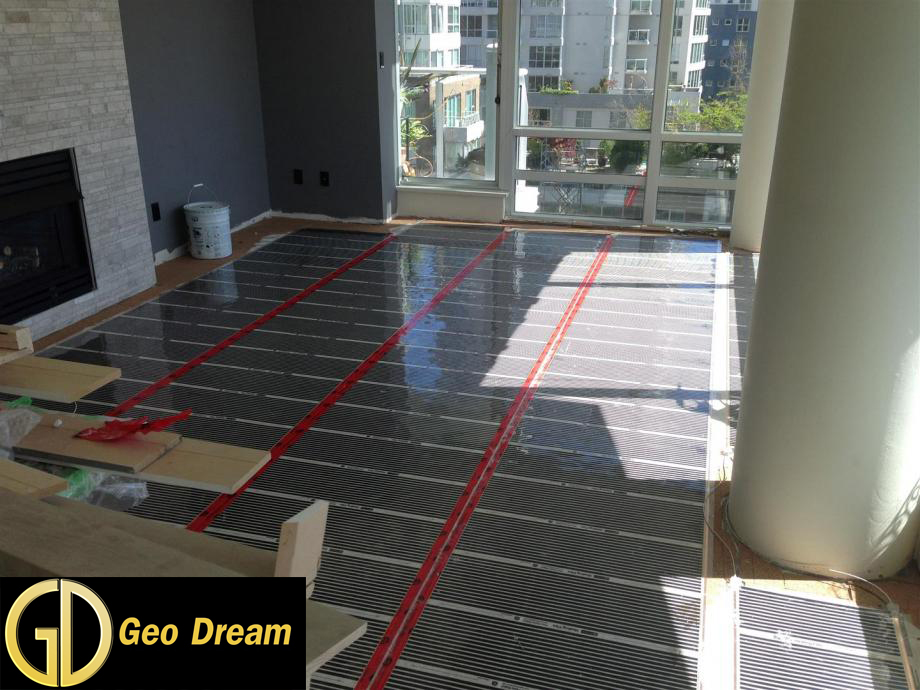
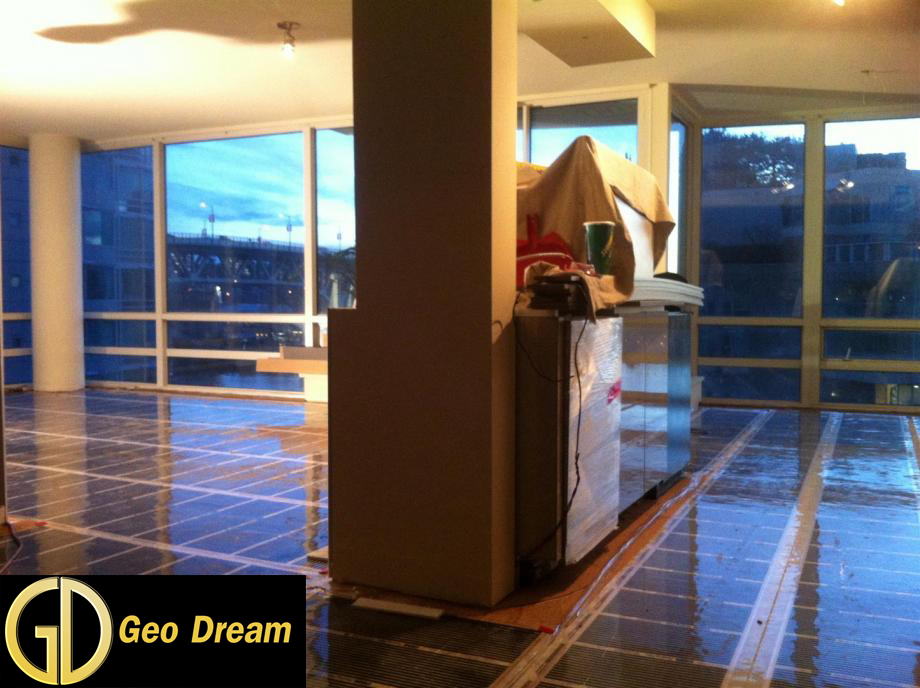
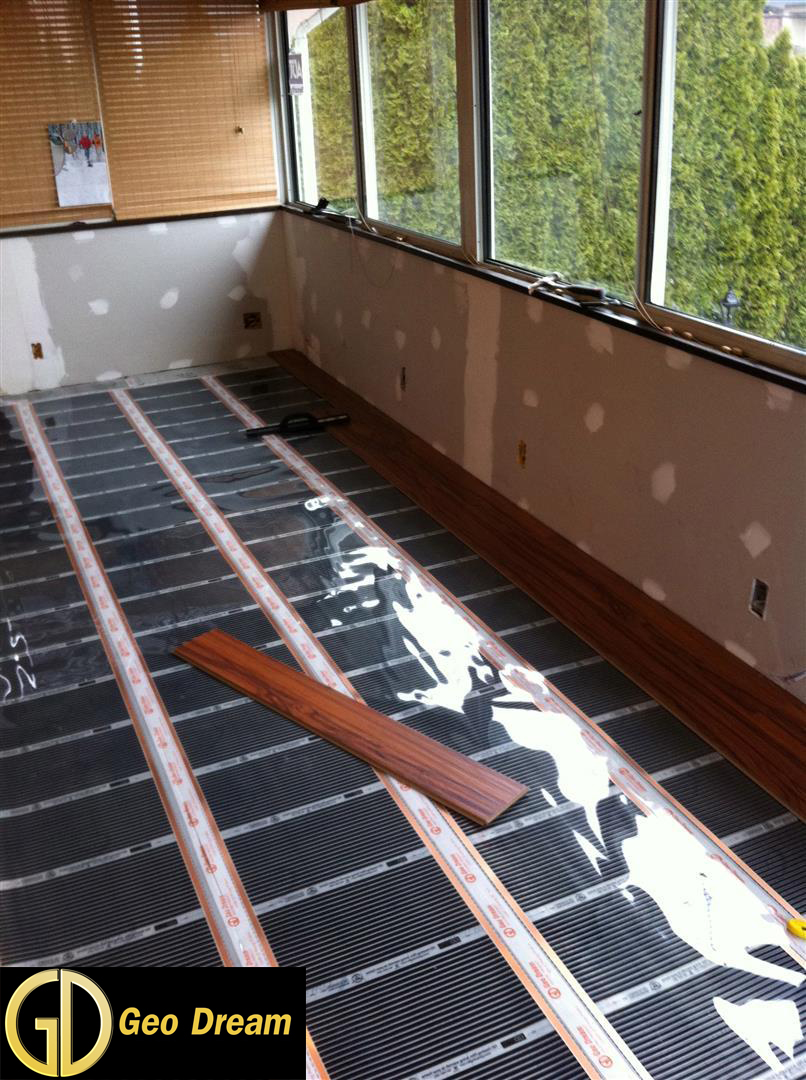
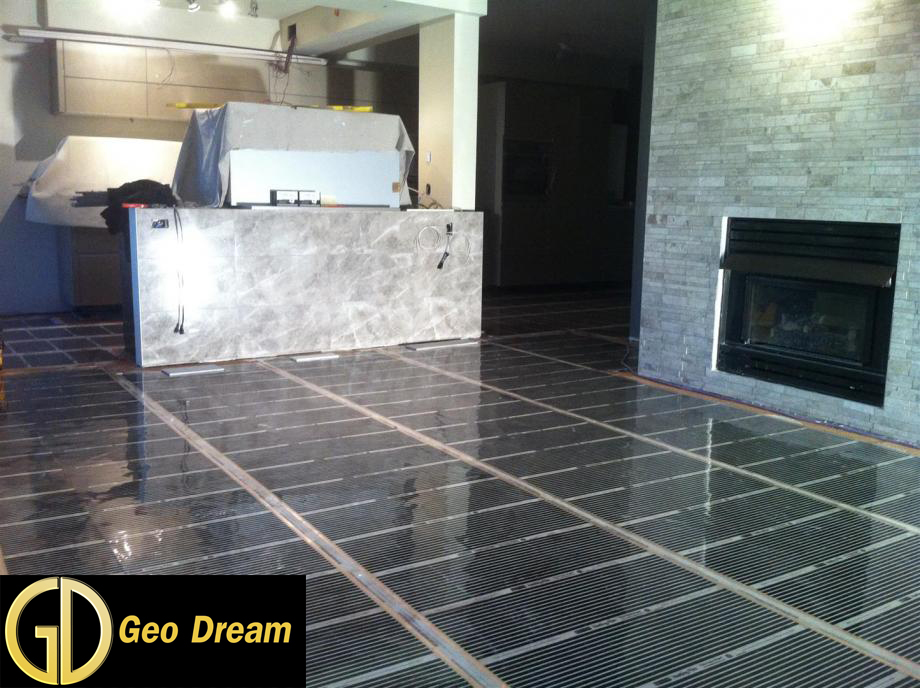
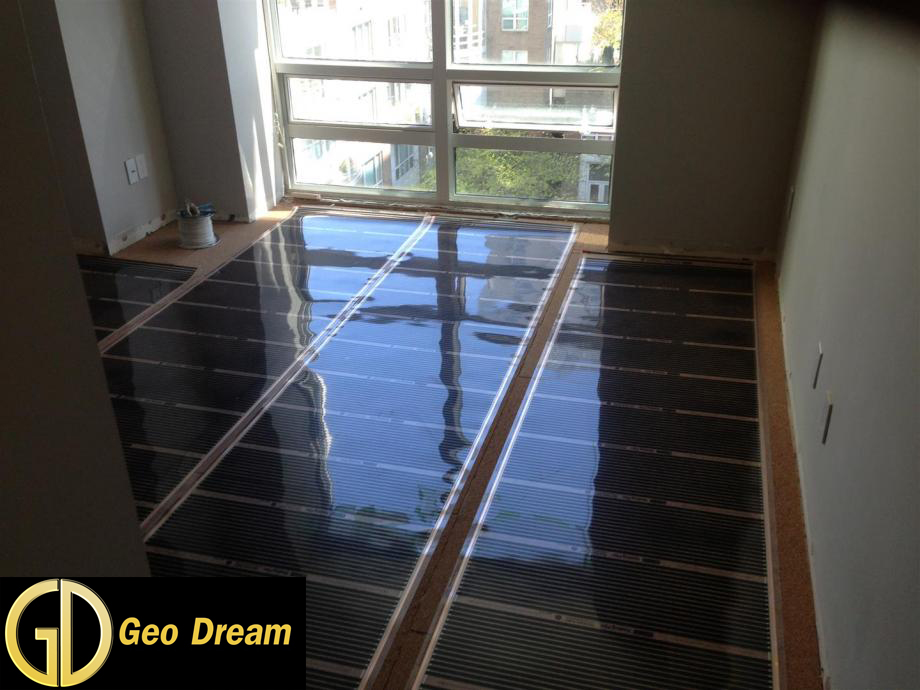
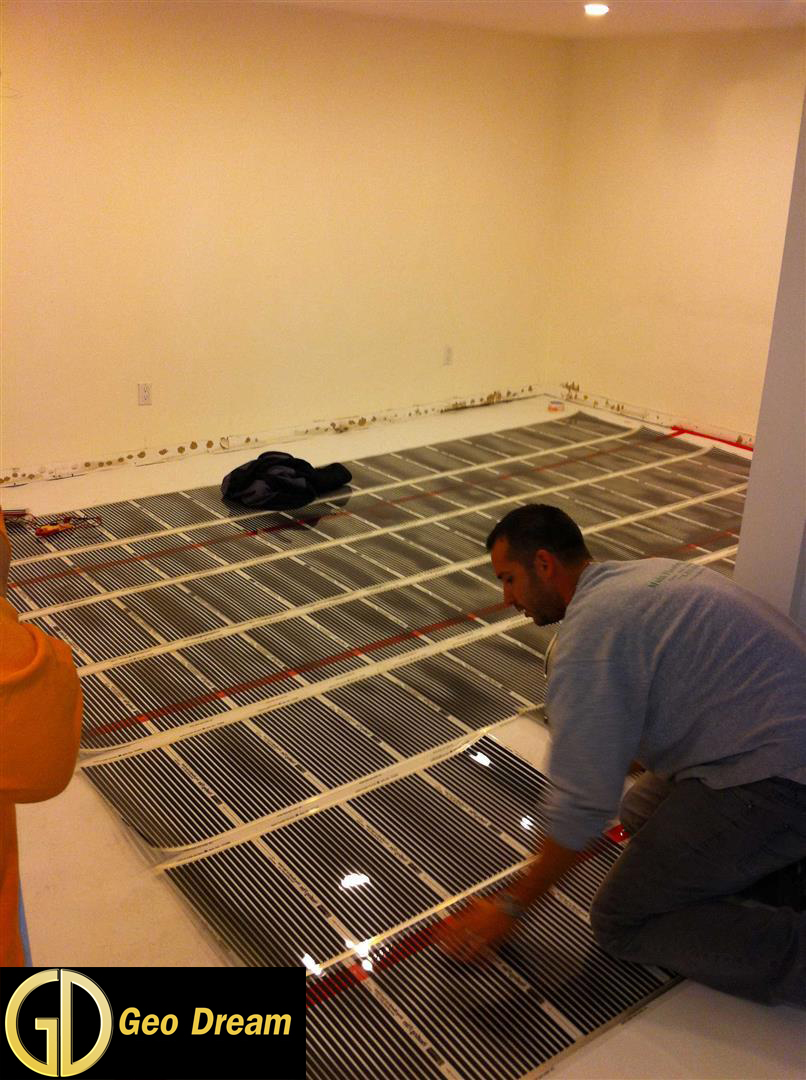
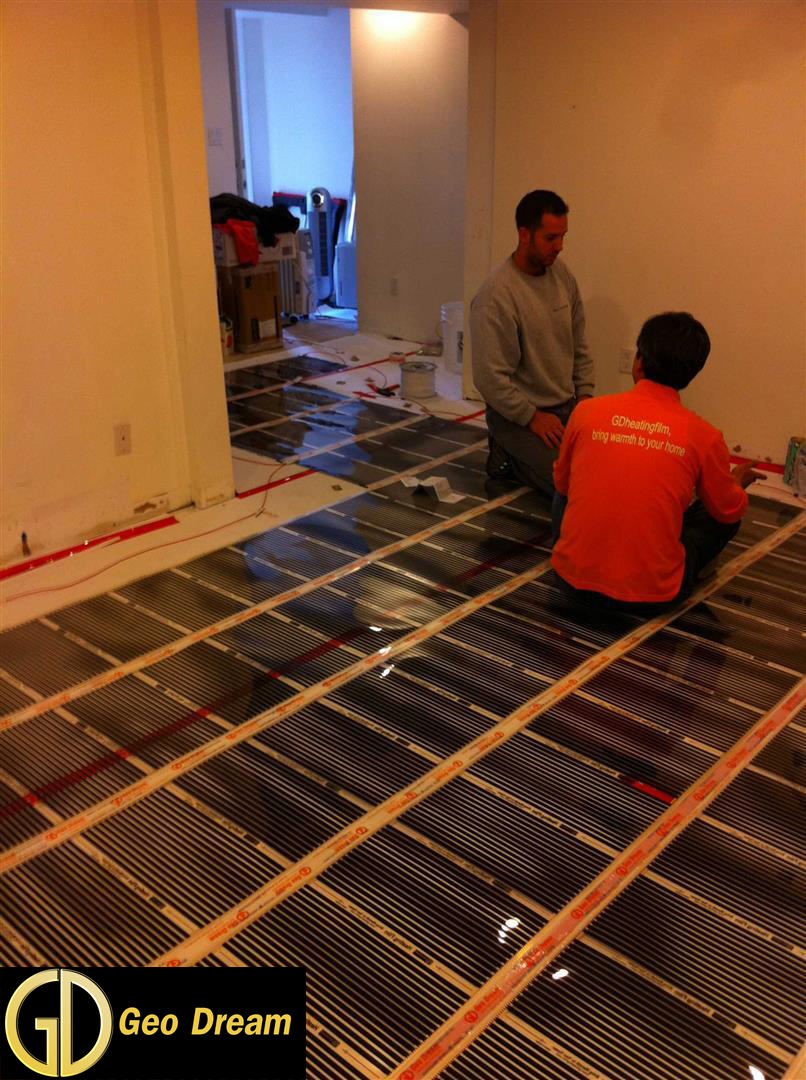
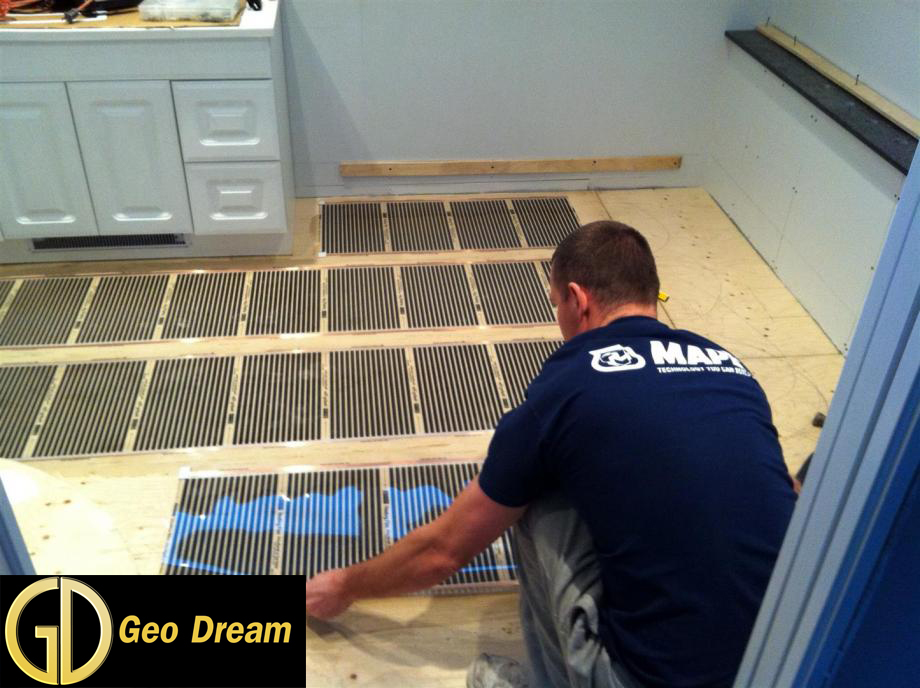
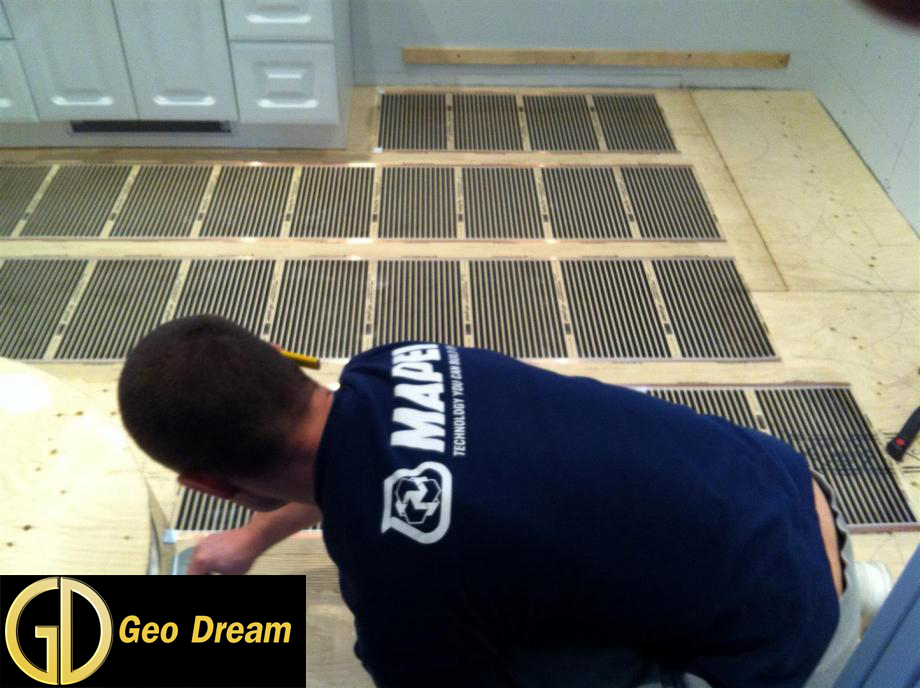
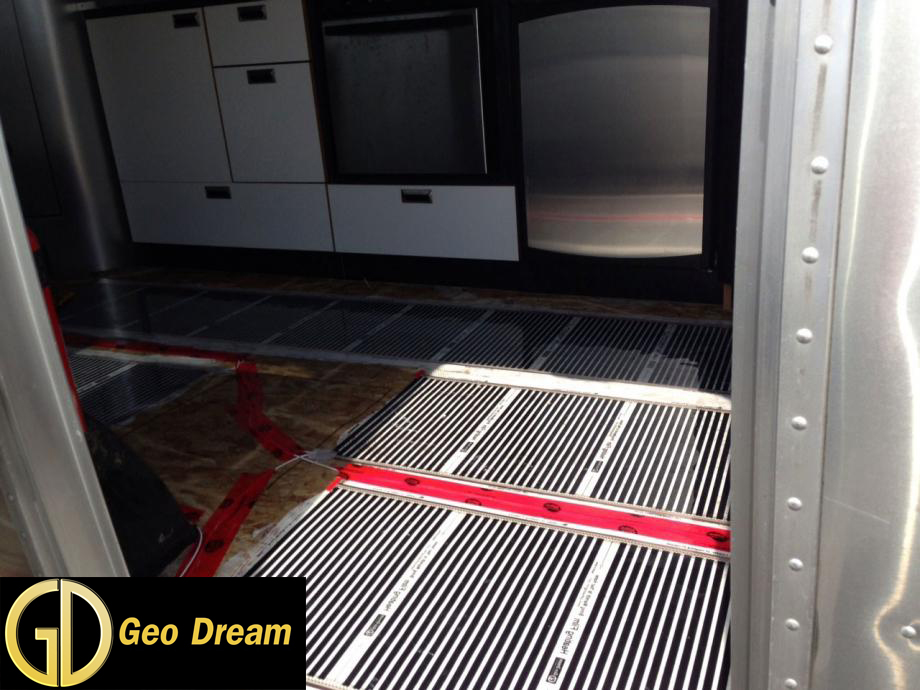
- Lay out the heat panels in accordance with the design and lightly tape into position.

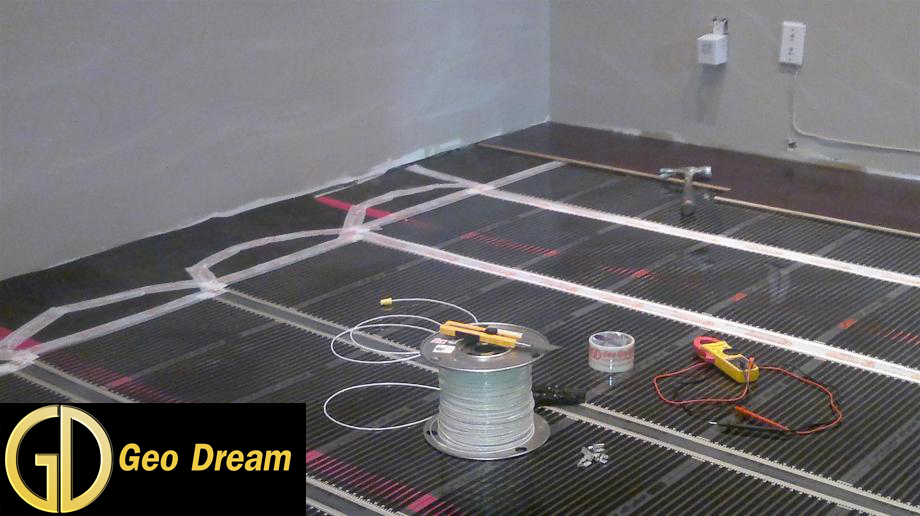
- Strip the lead wires that will be attached to the connector, insert the wire(s) into the barrel section of the connector, and crimp the wire(s) in place using the crimping tool.
- Attach metal crimp connectors to one end of each heating panel with the crimping tool.
- Insulate the end of each bus bar opposite the electrical connector bar with insulating tape
- Snap the insulating junction boxes over the connectors, optionally filling the junction boxes with silicone for wet areas.
- Wire the heating panels to each other and the thermostat.
- Carefully tape each edge of the heating panels to the underlayment.
- Install the floor temperature sensor provided with your thermostat.
- Install the thermostat and connect the electrical wires to the panel box.
- Perform resistance tests and record the results for each heating panel, as well as for the overall system.
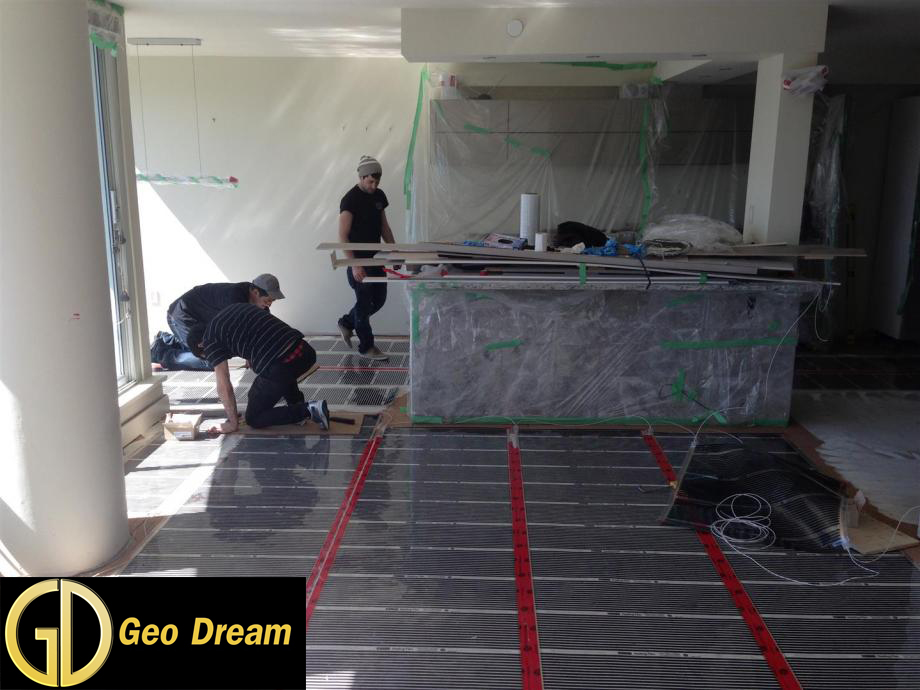
- If installing under flooring, install flooring in accordance to manufacturer’s instructions.